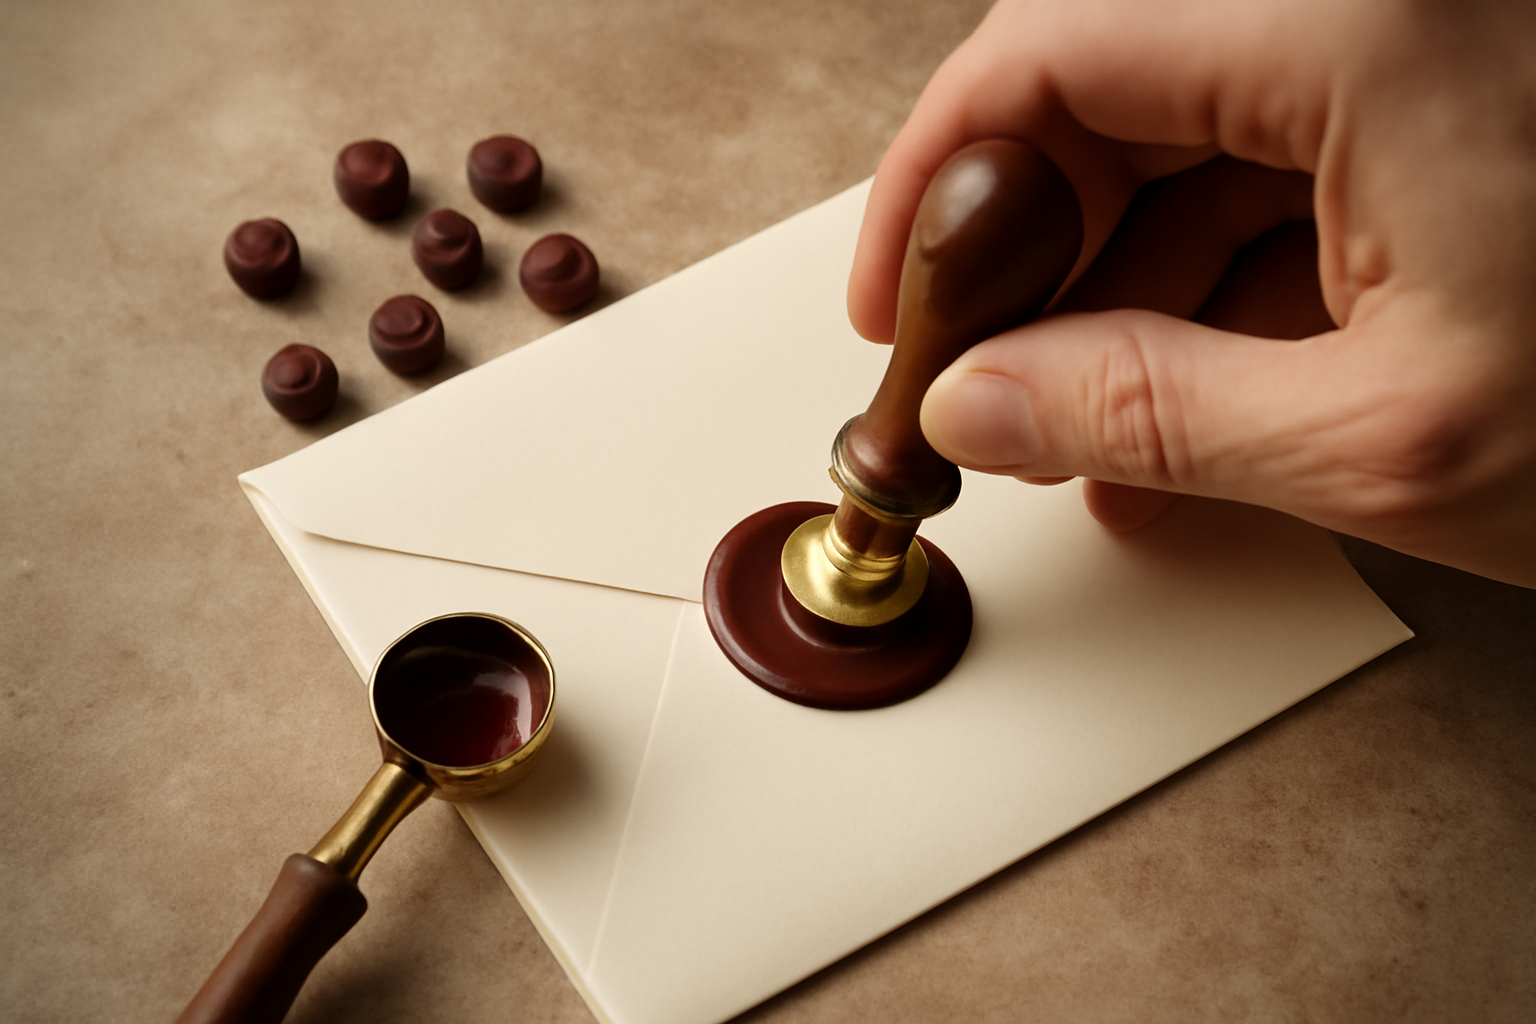
What actually happens the very first time you try this? In my case: a scalded thumb, a cracked impression, and the wrong wax stick entirely — a genuinely clumsy start that was, somehow, still thrilling. If wax seals for beginners is the search that brought you here, I’d like to spare you the singed fingertips without dulling any of the appeal. There’s something almost impossibly romantic about this particular analog ritual — warm wax pressed into a raised initial, cooling into a mark that’s both permanent and unmistakably yours. It sits in the same emotional territory as uncapping a vintage fountain pen or winding a mechanical watch by hand.
A decade of collecting analog objects of every stripe has taught me one consistent lesson: where you start matters far more than it seems like it should. Pick the wrong wax or the wrong stamp on attempt one, and you’ll likely abandon the whole craft in frustration. Pick well, and within a week you’ll be sealing letters, cards, gift tags — everything that holds still long enough. What follows is everything I’ve personally tested over the years: stamp types, wax formulas, heat sources, technique, and the paper that actually does the seal justice.
There’s a real, if modest, learning curve tucked into all this, and I’ll tell you plainly where most newcomers trip — myself very much included. By the time you reach the end, you’ll have a clear, workable route to your first genuinely nice seal.
Picking a Stamp for Your First Attempt
Stamps split into two main camps: brass heads fitted to separate handles, and one-piece flexible silicone stamps. My recommendation for a first purchase is a brass head stamp set into a wooden handle. Brass carries heat evenly, releases from the wax without a fight, and simply doesn’t wear out. A decent brass stamp runs $8 to $20 — modest money for a tool you’ll still be reaching for years from now.
Silicone stamps cost less — often just $3 to $6 — but in my experience they don’t let go of flexible wax as cleanly. The edges of the impression tend to smudge, particularly with uneven pressure. Where silicone does shine is paired with hard wax sticks, if crisp, vintage-leaning seals are what you’re after. I ran both side by side on the same floral design, and the brass stamp won on every point except sticker price.
Whatever design you choose first, aim for moderate detail — nothing too fine, nothing too bold. Highly intricate stamps punish beginner technique mercilessly. A monogram initial, an unfussy botanical motif, or a plain geometric pattern will all give you clean, forgiving results while your hand finds its rhythm. I began with a single serif “A,” and remarkably, it’s still one of the stamps I reach for most, more than eight years on.
Sizing Up Handles and Stamp Heads
Most stamp heads aimed at beginners fall between 25mm and 30mm across. That range hits a sweet spot — legible at a glance, yet modest enough to sit gracefully on a standard envelope flap. Handles come mostly in wood or resin. Wood has a warmer, more substantial feel in the hand. Resin handles often arrive molded into decorative shapes, which is nice to look at but has zero bearing on function. Go with whatever lets you deliver a firm, level press without a second thought.
Wax Types Explained: Flexible, Hard, and Glue Gun
This is the single most common place beginners go wrong — and I include myself in that group. My very first seal used a classic, brittle sealing wax stick on a letter bound for the postal system; two weeks later it arrived back at me with the seal reduced to fragments rattling around inside the envelope. Hard wax looks gorgeous, but it simply can’t hold up to machine sorting at the post office.
Here’s how I sort the three major wax categories, after years of testing them by hand:
- Hard/Traditional Wax Sticks: Shellac-based, and they yield the sharpest, most luxurious-looking impressions of the bunch. The tradeoff is that they snap under pressure or flexing. Reserve these for hand-delivered letters, gift wrapping, or purely decorative work. Figure $5–$12 per stick.
- Flexible Sealing Wax: Blended with a rubber or polymer additive so it bends rather than breaks. It holds up reliably through postal handling. The resulting impression is a touch softer than hard wax, though most people would never notice the difference. Priced around $6–$15, and it’s my default recommendation for anything going in the mail.
- Glue Gun Wax Sticks: Built for a standard low-temperature glue gun, and the friendliest format for someone just starting out. The melt is consistent, the pooling predictable, and pouring is easy to control. Brand quality varies a fair amount. Budget $8–$20 for a pack of 20 to 30 sticks.
For most people just starting out, glue gun wax is where I’d point you first. Because the melt is already controlled, one entire variable — heat management — drops out of the equation, leaving you free to concentrate purely on your press. Once your confidence catches up, traditional hard wax pays back the extra care it asks for.
Choosing Colors and Finishes
Wax shows up in matte, metallic, and glitter finishes. For letters, I gravitate toward metallics — gold, copper, and a deep burgundy never go out of style. Matte waxes in rich jewel tones, forest green or navy especially, photograph well if you’re documenting invitations. Start with just one or two colors rather than buying a whole spectrum. Your preferences will sort themselves out quickly once you’re using the wax regularly.
The Actual Tools and Heat Sources Worth Owning
You don’t need much gear to begin. At minimum: a heat source, wax, a stamp, and a flat surface to work on. That’s the whole list. That said, whichever heat source you settle on will color your entire experience as a beginner.
A low-temperature glue gun (roughly 120°C / 250°F) offers the most control of any option. The melt comes out steady and consistent, and there’s no open flame to worry about. If there are kids underfoot, or you’d simply rather keep things tidy, start here. A basic craft glue gun runs $8–$15, and there’s a decent chance you already own one.
A wax melting spoon held over a tea light is the old-fashioned route. It’s unhurried, atmospheric, and gives you fine control over how big your wax pool gets. The tricky part is managing soot from the candle flame — hold the wax stick above the flame, never directly in it, or you’ll get black flecks in your pool. I found this out the hard way, ruining an otherwise lovely ivory seal with a grey sooty streak running straight through the middle of the impression.
A dedicated wax melting pot with a built-in heating element earns its keep once you’re sealing in serious volume — think 50 or more wedding invitations. For occasional letters, it’s overkill at $25–$40. Keep things simple at the start, and upgrade only once a real limitation is genuinely slowing you down.
Technique: Getting a Clean Impression Every Time
Technique trips up beginners more than anything else, and it really comes down to three moving parts: how hot the wax is, how much you pour, and when you press. Nail all three, and even your very first seal will come out clean.
The Process, Step by Step
- Chill your stamp first. Five minutes in the freezer does it, or a quick rest on an ice pack. A cold stamp lets go of the wax far more cleanly than one at room temperature. This one habit alone made the biggest difference in my results.
- Don’t skimp on the pour. A 25–30mm seal needs a pool closer to 20–25mm across. Pouring too little is the single most common beginner error. When you press, the wax should just barely spill past the stamp’s edge.
- Give it about 10 seconds. Once poured, let the pool start to skin over before you press down. You’re looking for matte edges with a glossy center — that’s your signal to go.
- Press down firm and level. Straight downward pressure, no rocking the stamp side to side. Hold it there for 15 to 20 seconds. Rocking is exactly what causes blurred edges and doubled impressions.
- Lift off clean. Straight up, no twisting or peeling motion. If it grabs and sticks, you jumped the gun — give the wax a little more time to set next round.
Run through a few practice seals on scrap paper or cardstock before you commit to your good stationery. Five or six attempts in, your sense of timing sharpens noticeably. At that point, you’ll start reading the wax pool by its surface — matte versus glossy — rather than mentally counting seconds.
Paper Worthy of the Seal: What Turns a Letter Into an Heirloom
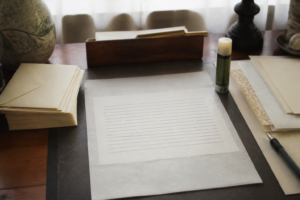
A good wax seal needs a vessel that can carry its weight, literally. Thin, flimsy paper drags down even a flawless impression — it’s difficult to feel the ceremony of the moment when the envelope seems ready to tear under the seal’s mass.
Where it delivers
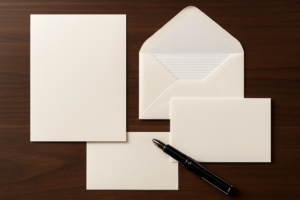
- The ecru stock has enough body to bear a wax seal without buckling underneath it, so the seal ends up sitting flush rather than warped and amateurish.
- The gold borders act as a built-in frame, lending the finished letter an air of intention even if this happens to be the very first seal you’ve ever pressed.
- Envelopes that already match the paper spare you the hunt for the right size or shade — the set is pre-coordinated, leaving you free to concentrate on the pressing itself.
Where it falls short
- Those gold borders are purely decorative — plan to fill a whole letter on these sheets, and you’ll find noticeably less room than plain stationery gives you.
- A set of 48 sheets can look like more than you need if you’re merely dipping a toe into wax sealing — though don’t be surprised if you burn through them faster than expected once the habit takes hold.
I almost gave up on wax sealing after my first attempt because the cheap envelope buckled under the seal and made the whole thing look like a mistake—until I switched to proper cardstock and suddenly felt like I knew what I was doing. Try the XXINMOH 90 Piece Stationery Set – 60 Vintage-Style Paper and feel the difference a quality envelope makes.
About This Article

Written by Ellen Ashford. Watch collector, fountain pen enthusiast, and lifelong journaler. Time & Ink is where I explore the craft of analog living — from vintage timepieces and fine stationery to the simple pleasure of putting pen to paper. More about this site.
Verify this against a primary source
Specifics change, and your situation may differ from the one described here. These are the authorities worth checking directly:
- NAWCC — horological reference, archives and research library
- Smithsonian Institution — collection records for historic timepieces and writing instruments