Early on, I tried to blot a fresh puddle of Diamine Oxblood off my desk with the sleeve of the sweater I happened to be wearing, and I learned two things in the same ten seconds: fountain pen ink does not care about your clothing choices, and hesitation is the whole problem. Since that morning I’ve had plenty of other occasions to remove fountain pen ink from three separate surfaces before my coffee even finished dripping — fingers, cuff, and the edge of my oak desk, all in one sitting. Ten-plus years of filling, flushing, and fussing over everything from a $12 Jinhao X450 to a flex-nib vintage Pelikan 400 have taught me that ink behaves very differently once it’s escaped the pen. Some of it wipes away like nothing happened. Iron gall and pigmented formulas are the ones that test your patience and your laundry budget.
How to remove fountain pen ink from hands, quickly
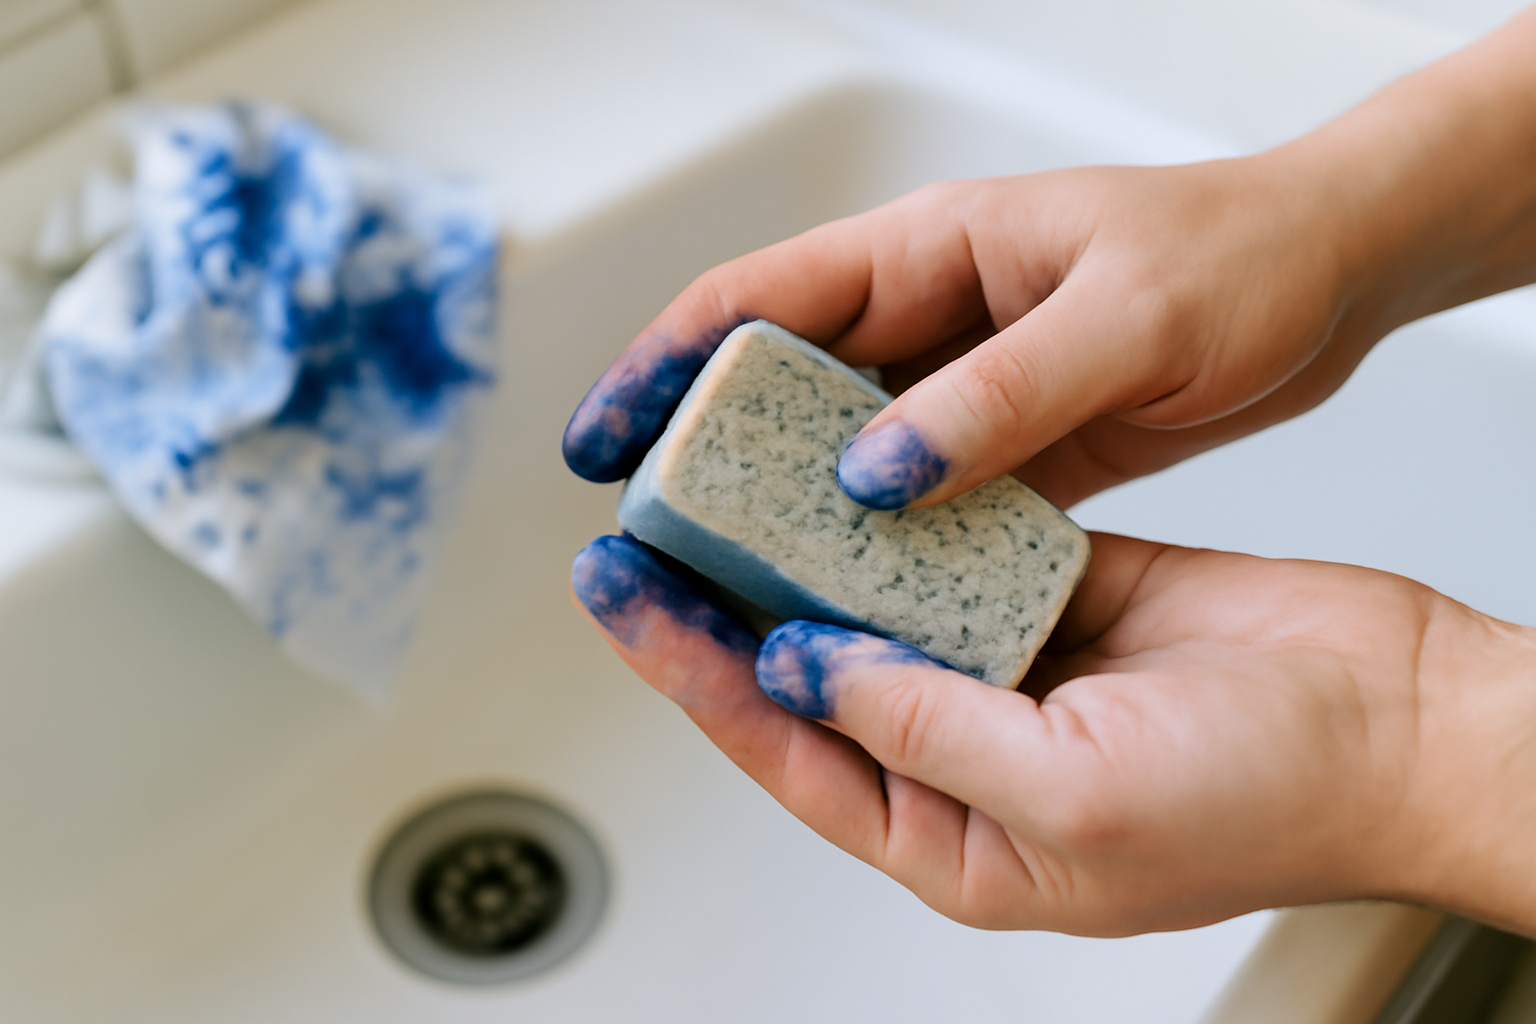
Cold water and soap first — never hot, which sets some dyes. If a spot resists, hand sanitizer is the fastest fix, because the alcohol dissolves dye-based ink in seconds. For iron gall inks, which soap alone will not shift, use a 1:1 paste of baking soda and dish soap worked in with a soft nail brush. And the part nobody wants to hear: whatever is left will go on its own within a day or two as your skin turns over, so stop scrubbing before you take the skin off.
There’s a piece of forum wisdom I hear on repeat that I think is flatly wrong: the idea that fountain pen ink is one substance that cleans up one way. It isn’t, and it doesn’t. Diamine Oxblood on bare skin is a completely different animal than Noodler’s Baystate Blue soaked into a cotton Oxford. The chemistry of the ink — and how quickly you respond to it — decides whether you’re dealing with a minor annoyance or a stain that outlives the shirt. Below is what actually works, what’s a waste of effort, and what sits permanently on my desk waiting for the next accident.
Why Different Fountain Pen Inks Stain in Different Ways
Fountain pen inks split into a handful of broad families, and each one leaves its own kind of mark. Standard dye-based inks — Pilot Iroshizuku, Diamine, Waterman, that sort of thing — dissolve in water and are generally easygoing. They tend to sit on top of most materials for a while before actually bonding, which buys you real time to react. Iron gall inks don’t offer that grace period. Their tannic acid reacts with metal and organic fiber alike, forming a bond that’s genuinely stubborn to break. Pigmented inks — Sailor Kiwaguro, Platinum Carbon Black — work differently again, carrying solid particles that wedge themselves into fabric weave and wood grain rather than dissolving into anything.
What I’ve come to think of as the 30-second rule holds true across all of them: however quickly you move, your outcome improves, no matter which ink is involved. I found this out the expensive way with Noodler’s Baystate Blue, a notoriously alkaline formula that dyes almost any surface a vivid, near-fluorescent blue on contact. A partially filled Lamy Safari rolled off my desk, streaked a blue line across a cream linen notebook sleeve, and I let maybe two minutes pass before I did anything about it. That sleeve still carries a faint blue shadow to this day. Move fast. Every time.
Getting Ink Stains Off Your Hands
Skin is the simplest surface to deal with, yet people manage to overthink it constantly. Plain soap and cold water handle fresh dye-based ink just fine. I run cold water first — never hot, since heat can lock some dyes in place — and work in a bar of soap with light scrubbing. When a spot won’t budge, hand sanitizer is my go-to; the alcohol content dissolves dye-based ink fast. A drop on the stain, a brief rub, a rinse, and most inks are gone in under a minute.
Iron gall ink on skin, though, plays by different rules. I keep a bottle of Rohrer & Klingner Salix around — gorgeous blue-black, beautiful on cheap paper — and it leaves my fingertips a gray-brown that soap by itself won’t shift. My fix is a baking soda and dish soap paste, mixed roughly 1:1, worked in with a soft nail brush for 20 to 30 seconds. The gentle abrasion combined with the alkalinity of the baking soda breaks the tannic acid bond. Rinse well; deeper stains sometimes need a second pass. On the bright side, some of that iron gall discoloration will fade on its own within 24 hours as skin cells turn over. Just don’t scrub hard enough to irritate yourself in the meantime.
One product I keep coming back to, and genuinely trust, is ordinary white toothpaste — the paste, not the gel. It’s got the same mild abrasive quality as baking soda, and unlike a special kit, it’s already sitting by your sink. I discovered this after disassembling a vintage Parker 51 with a cracked sac, which left my fingers stained for hours until I finally tried toothpaste on them. It cleared in two minutes.
Handling Ink Stains on Clothing and Fabric
Fabric is where the biggest errors happen. Rubbing is the first one. Rub a fresh ink spill and you just push it wider and deeper into the fibers. The better move is blotting inward from the edges of the stain with a clean cloth or paper towel, pulling out as much ink as you can before any cleaner ever touches the fabric. That single habit of blotting first has saved more shirts of mine than I can count.
For fresh dye-based ink on cotton or linen, running cold water through the back side of the fabric works better than you’d expect — the point is pushing the ink back out the direction it came in, not driving it forward through more layers of thread. Once that’s done, work in a small amount of liquid dish soap directly on the stain with a fingertip, let it sit for five minutes, then rinse again with cold water. For most standard fountain pen inks on washable fabric, that two-step process is the whole solution.
Pigmented ink, and anything leaning permanent like Noodler’s Bulletproof line, needs more firepower. A 50/50 mix of rubbing alcohol and water applied to the stain, followed by dish soap, has worked well for me. On stains that have already set — call it anything past an hour old — a paste of OxiClean left on the fabric for 30 minutes before washing has been the most dependable fix I’ve found. My ratio is about a tablespoon of OxiClean powder to just enough warm water to thicken into a paste. Check the fabric care label before you start, and always test somewhere hidden first. Silk and wool are their own category entirely — leave those to a specialist cleaner rather than getting aggressive yourself.
Getting Ink Off Your Desk and Other Hard Surfaces
Hard surfaces respond to ink in wildly different ways. Sealed wood, laminate, and glass are forgiving; unfinished wood, unsealed marble, and some plastics are not. My oak writing desk has been with me for six years, and I’ve spilled ink across it more times than I care to admit. Because the finish is a polyurethane satin coat, most spills wipe away cleanly with just a damp cloth, provided I catch them within a few minutes.
Dried ink on a sealed surface calls for rubbing alcohol on a cotton pad — apply it, let it sit 15 to 20 seconds, then wipe using light circular motion. Glass pen rests and ceramic ink dishes respond surprisingly well to a Mr. Clean Magic Eraser; the melamine foam has enough mild abrasion to lift cured ink without scratching the surface. I’ve had great results using it on the inside of glass inkwells specifically.
Raw, unfinished wood is its own beast entirely. Ink wicks straight into the grain and bonds almost instantly, so the response has to be immediate: blot hard, then dab a small amount of 3% hydrogen peroxide, the standard drugstore concentration, directly onto the stain with a cotton swab. The oxidizing reaction can lighten both iron gall and dye-based stains on raw wood, though it can also lighten the wood grain itself slightly. I learned this after trying rubbing alcohol on a scrap of raw pine, which just smeared the ink around instead of lifting it. On unfinished surfaces, hydrogen peroxide is the tool that actually works.
Getting Ink Stains Out of a Demonstrator Pen
Clear pens are their own problem, and it is the one question in this whole area I get asked about that nothing above solves. A demonstrator that has held a saturated ink for months will keep a tint in the barrel long after the pen writes clean, and the instinct — reach for something stronger — is exactly the wrong one.
What actually works, in the order I try it:
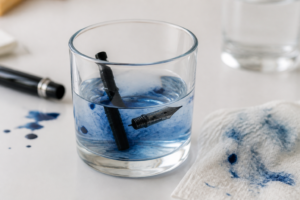
- A long soak in cool water with one drop of dish soap. Twenty-four hours, water changed once. This alone clears most staining, and it cannot hurt anything.
- Pen flush. Either a commercial flush or the homemade version: roughly ten parts water to one part household ammonia, plus a drop of dish soap. Use it on modern acrylic and resin demonstrators, flush thoroughly with plain water afterwards, and let the pen dry completely before re-inking.
- Patience. Some tint fades over weeks of ordinary use with a lighter ink. Not satisfying, but it works more often than people expect.
What I do not do, and would tell anyone else not to do:
- No bleach, ever. It hazes and embrittles acrylic, and the damage is not reversible.
- No ammonia on vintage pens. Celluloid, casein and hard rubber all react badly, and ammonia will strip plating and lift some cap band adhesives. Vintage demonstrators get plain water and time, nothing else.
- No alcohol soaks. Acrylic crazes — a web of fine cracks that appears days later, long after you have decided it worked.
- No mechanical scrubbing inside the barrel. Whatever you push down there will scratch it, and scratches catch ink far worse than the stain you started with.
And the honest part: some inks stain permanently. The heavily saturated blues and purples that pen people warn each other about earn that reputation, and once one of them has sat in a clear barrel for a season, a faint cast is simply part of the pen now. If a demonstrator matters to you, keep the aggressive inks in a pen you cannot see through.
The Tool That Simplifies Pen Cleaning (And Cuts Down on Spills)
Nearly every stain I’ve dealt with traces back to one of two moments: filling a pen from a bottle or flushing it clean afterward. Both involve pushing liquid through a small nib and feed assembly, and both open the door to drips, overflow, and splatter. I’ve tried a fair number of tools over the years to keep this process tidy, and the one I reach for every time is a simple rubber bulb syringe.
Specifically, I use the 2 Pack Ear Syringe 2oz / 60ml Hand Bulb Syringe. I know — ear syringe. Stay with me. These rubber bulb syringes are the same tool pen collectors have quietly been using for years to flush converters and cartridge pens with precision. The 60ml capacity is generous enough to fully flush a vintage Sheaffer Snorkel or a large Pilot Custom 823. The soft rubber bulb gives you fine control over water pressure, which matters when you’re cleaning a delicate flex nib without wanting to force water through at a pressure that could damage the tines.
I’ve put these head to head against purpose-made pen cleaning bulbs that run three to four times the price, and the performance gap is basically nothing. At around $8 for two, this is one of the highest-value items in my entire cleaning kit. One bulb stays dedicated to plain water; the other handles a diluted pen flush solution. Keeping them separate matters — you don’t want stray cleaning fluid ending up in your rinse water when flushing an ink that’s chemically sensitive, iron gall formulas especially.
A Cheaper Option for Detail Work
If you’re primarily dealing with ink spills during the filling process rather than flushing, the 5 Pack 5ML/CC Premium Ink Filling Syringe with Blunt Needle Tip is worth keeping on your desk. These 5ml syringes with blunt-tipped needles let you fill converters, cartridges, and even TWSBI-style piston mechanisms with surgical precision. No drips. No overflow. No ink climbing back up the neck of a bottle onto your fingers.
Roughly $7 buys you five, which makes these about as cheap as it gets. They’re built for filling and transferring, though — not for flushing. Their 5ml capacity is simply too small to do a proper flush job. In my own routine, I use both: the syringe for precise filling out of ink samples and small vials, and the bulb syringe when it’s time for a full cleaning flush. Between the two, most of the situations that lead to spills in the first place are covered.
Worth Buying or Not: Do Dedicated Cleaning Tools Matter?
If you own a single pen and fill it maybe twice a year, honestly, no. A slow dip-fill over a folded paper towel handles that just fine. You’re simply not spilling enough ink to justify assembling a cleaning kit.
But once you’re rotating several pens — I’ve currently got seven inked at once, everything from a fine-nib Pilot Metropolitan to a vintage Esterbrook J with a 9314 firm medium nib — controlling the mess during filling and flushing stops being optional. At that point, the bulb syringe and filling syringes aren’t extras; they’re part of the workflow that keeps stains from happening as often.
The bulb syringe earns every bit of its $8. The filling syringes pull their weight too, especially if you’re regularly working from ink samples or small bottles. Neither is a must-have for someone who fills a pen occasionally. Both are money well spent for anyone actually serious about their collection.
Closing Thoughts on Removing Fountain Pen Ink Stains
Ten years of spills, ruined cuffs, and stained fingertips later, one thing I know for certain is that speed matters more than anything else once ink hits a surface. Move quickly, match the treatment to the ink type, and keep your hands off the urge to rub. Getting fountain pen ink stains out for good starts with knowing what you’re up against — dye-based, iron gall, or pigmented — since each one reacts differently to the same household cleaners.
Everything above is something I’ve relied on repeatedly, in actual collecting and daily journaling, not just once in a lab setting. Cold water and dish soap for fabric. Baking soda paste for iron gall on skin. Hydrogen peroxide for raw wood. Rubbing alcohol for sealed surfaces. None of it requires anything specialized — most of it is probably already under your sink.
Still, the stain you never have to deal with beats the one you clean up perfectly. Better tools for filling and flushing — that bulb syringe in particular — genuinely cut down on how often cleanup becomes necessary at all. Prevention isn’t the exciting part of this hobby, but it’s the practical part, and after ten years of collecting analog things, I’ve come to value practical just about as much as beautiful.
Removing Fountain Pen Ink: Common Questions
How do you get fountain pen ink off your hands at home?
Cold water and soap first — hot water sets some dyes. Hand sanitizer handles anything that resists, because the alcohol dissolves dye-based ink in seconds. Iron gall inks need a 1:1 baking soda and dish soap paste worked in with a soft brush. Whatever survives all that will fade within a day or two on its own.
Does fountain pen ink stain skin permanently?
No. Skin turns over fast enough that even heavily saturated inks are gone within two or three days without any intervention. The risk is not the stain, it is scrubbing hard enough to irritate your hands trying to beat it by a few hours.
How do you clear ink staining inside a clear demonstrator pen?
A twenty-four hour soak in cool water with a drop of dish soap, then a pen flush if that is not enough. Never bleach, never alcohol, and no ammonia on vintage materials. Some saturated inks stain acrylic permanently, so keep the notorious ones in a pen you cannot see through.
About This Article

Written by Ellen Ashford. Watch collector, fountain pen enthusiast, and lifelong journaler. Time & Ink is where I explore the craft of analog living — from vintage timepieces and fine stationery to the simple pleasure of putting pen to paper. More about this site.
Verify this against a primary source
Specifics change, and your situation may differ from the one described here. These are the authorities worth checking directly:
- NAWCC — horological reference, archives and research library
- Smithsonian Institution — collection records for historic timepieces and writing instruments