The Watch That Started This Habit
Don’t touch a hazy acrylic crystal with anything you grabbed from under the sink — that’s the warning, and here’s why it matters. Seven years back, a 1974 Seiko 5 came home with me from an estate sale for twenty-two dollars. Inside, everything was right: a 21-jewel caliber 7009 ticking at 21,600 bph and holding to within fifteen seconds a day, quietly impressive for its age. The face on top of it, though, looked like it had been dragged across drywall — fine scratches throwing light in every direction. Otherwise the watch was entirely wearable, and paying a watchmaker forty dollars to swap a crystal on a twenty-two dollar piece struck me as absurd. So that afternoon, at my own kitchen table, I taught myself to polish acrylic watch crystals, and it’s been part of my routine ever since.
This particular repair is unusually forgiving. Acrylic — hesalite, if you’re talking about vintage Omega or an early Speedmaster — is a soft plastic, and that softness cuts both ways. It’s why the surface picks up scratches so easily, and it’s the same reason those scratches can be worked back out again. Mineral glass won’t give you that second chance. Once it’s marked, it’s marked for good. Sapphire holds up better against scratching in the first place, but if it does get damaged, you’re stuck without a workshop’s worth of equipment. Acrylic is really the only crystal material where a steady hand and fifteen spare minutes actually pay off.
How I Tell Which Crystal I Have
Before I let a cloth near the watch, I need to know what material I’m actually dealing with. Guess wrong and you either waste an afternoon or, worse, damage the piece. I lean on three quick checks to sort it out.
The first is simply age. Anything made before about 1980 is likely to be wearing acrylic. Mineral glass took over through the eighties, and sapphire became the norm on mid-range and higher watches by the nineties. A Seiko from 1968, an Omega from 1972, a Longines from 1975 — acrylic, almost certainly, in every case.
The second is what I call the tap test. A light fingernail tap against the crystal tells its own story. Acrylic gives back a soft, muted knock with barely any ring to it. Mineral glass sounds harder and pitched a bit higher. Sapphire comes back almost like a faint ping. It sounds subtle described in words, but tap enough examples of each and the difference stops being subtle at all.
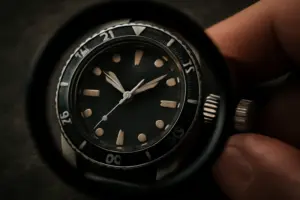
The third is the edge profile, viewed from the side. Acrylic crystals frequently dome — sometimes dramatically so — and the edge carries a faint warmth to it, almost amber-toned under a strong light. Mineral edges read cooler and cleaner by comparison. Edge color is the least reliable of the three signs, though, so I weight the tap test and the age check more heavily in practice.
What I Use and Why I Keep It Simple
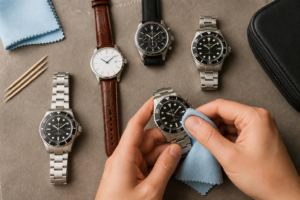
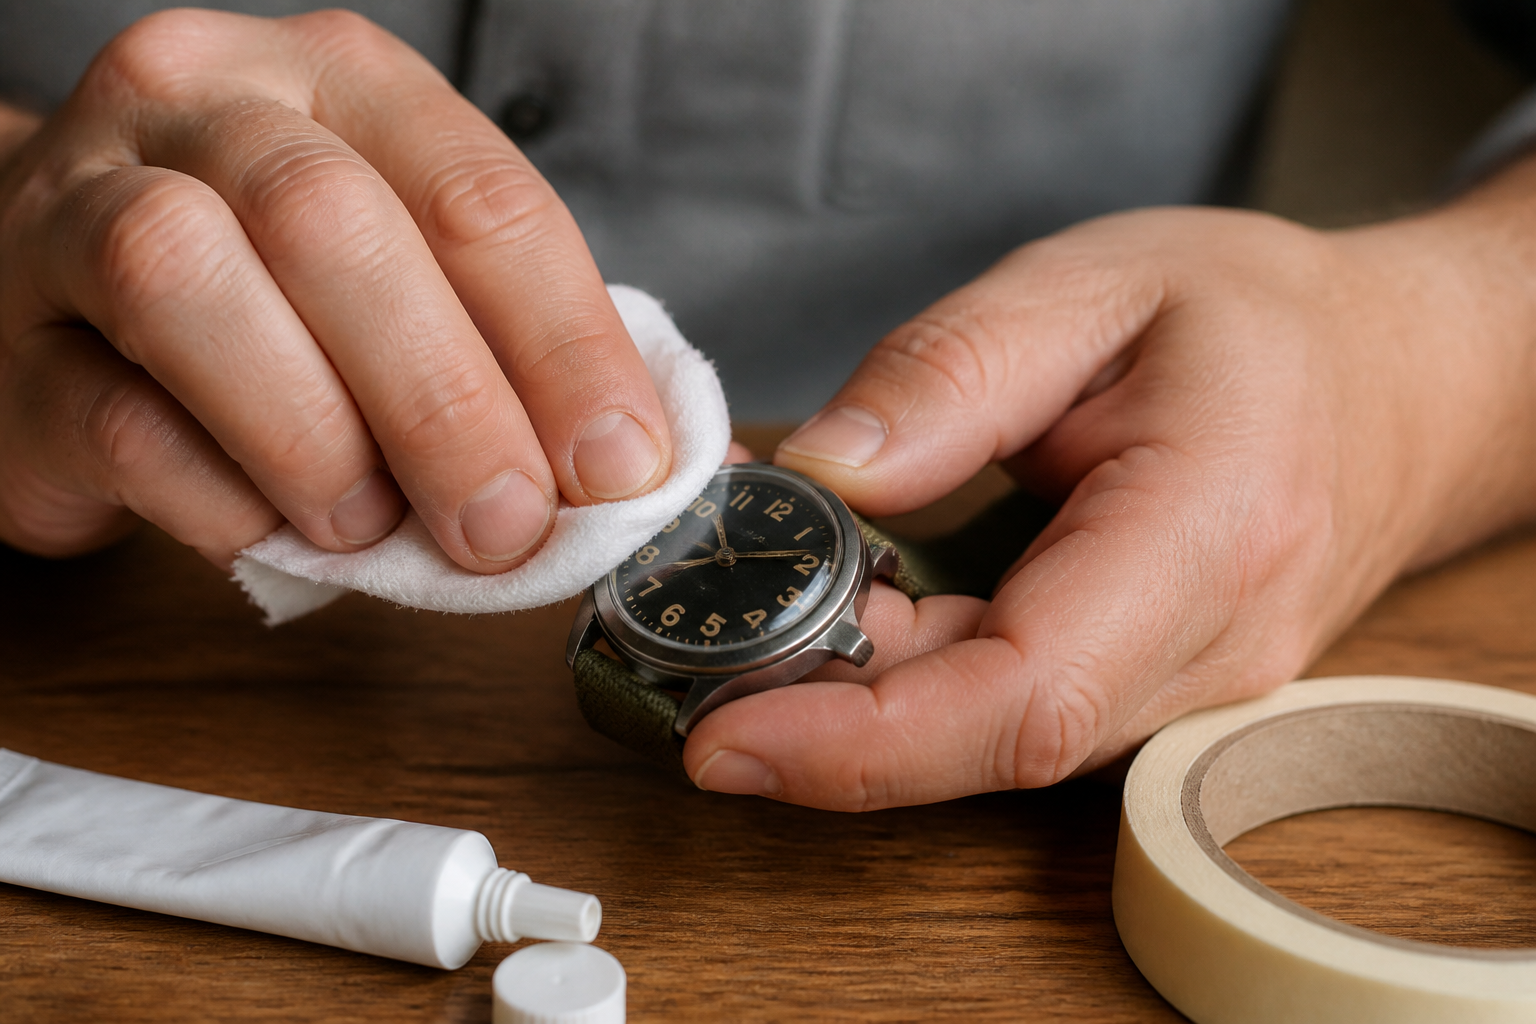
My supply list for this job is almost laughably short. Plain white toothpaste does the trick — no gel, no whitening formula, nothing with gritty micro-beads in it — or a dab of a dedicated plastic polish like Polywatch, made specifically for acrylic crystals. Both get the job done. Toothpaste works as a mild abrasive that cuts through fine scratching; the dedicated compound gives a touch more control. Beyond that, I keep a few microfiber squares, a roll of painter’s tape, and a strong lamp within reach.
What I won’t reach for is car polish, metal polish, or anything marketed for glass. The abrasive grade and chemical makeup are all wrong for a soft plastic surface, and I’ve watched other collectors leave permanent haze rings in a crystal by using whatever happened to be closest at hand. Silicone-based products in particular can smear into acrylic in a way that needs professional buffing to correct. When it comes to this job, plain and boring is the right choice.
Why I Tape the Bezel Before I Start
Masking the bezel isn’t a step I skip, ever. Polishing compound has a way of traveling. Rub even a trace of abrasive repeatedly across a polished steel or gold-filled bezel and you’ll dull that finish without meaning to. On dive-style watches with printed chapter rings or aluminum bezel inserts, the damage runs worse still. So I lay tape carefully around the bezel edge, pressing it firmly at the crystal lip so nothing can creep underneath. It costs me about ninety seconds and has spared more than one bezel from ruin.
My Step-by-Step Process at the Kitchen Table
I set my lamp at a shallow angle, roughly thirty degrees off the tabletop. That raking light makes every scratch visible and lets me track my progress as I work — without it, I’d essentially be polishing blind.
- Step 1 — Start with a clean crystal. A damp microfiber wipe clears off dust and grit before anything else happens. Polishing over a stray particle just creates fresh scratches, so I let the surface dry fully before moving forward.
- Step 2 — Add a small dab of compound. A pea-sized amount of toothpaste or polish goes right onto the crystal itself, not onto the cloth first — I want it sitting centered where I’ll actually be working.
- Step 3 — Work it in small circles. With a folded microfiber square, I move in gentle, overlapping circular motions — medium pressure, neither heavy-handed nor barely-there. I cover the full crystal surface, edges included, but I stop at the tape line and never drift onto it.
- Step 4 — Stop and inspect every couple of minutes. A damp-cloth wipe and a look under the lamp tells me whether another pass is needed and exactly where scratches are still concentrated. Light hazing usually clears in one four-minute stretch.
- Step 5 — Repeat if necessary, finish with a dry buff. Moderate scratching typically takes two or three passes with fresh compound each time. I close things out with a clean, dry microfiber buff and no compound at all, which clears away any leftover haze the polishing itself created.
For a lightly scratched crystal, the whole thing runs ten to fifteen minutes. A badly hazed one might stretch to twenty-five minutes across several passes. Even so, I’ve never needed more than half an hour to see a genuine turnaround on a true acrylic surface.
The Mistake I Made My First Time
I’ll admit this one happened on a 1969 Seiko Lord Marvel that had cost me sixty dollars. Its crystal was a high-dome acrylic — the kind that, new, catches light beautifully along the curve. I approached it exactly as I would a flat crystal: same circular motion, same pressure, same even coverage from center to edge.
The trouble lives at the edge of a domed crystal. A flat crystal meets the bezel at a clean right angle, but a dome tapers thinner as it curves outward toward the periphery — and that thinner edge polishes faster than the thicker center does. About eight minutes into full-coverage circling, I checked under the lamp and found the outer five millimeters of that dome had taken on a noticeably different sheen than the middle — flatter, almost matte by comparison. The dome’s edge had literally lost its curved geometry.
The net result was a crystal that looked worse under certain light than before I’d started. A replacement from a parts dealer ran fourteen dollars and cost me a week waiting on shipping. The lesson stuck immediately: on a domed crystal, most of my effort now goes to the flat center, my pressure eases off noticeably as I near the curve, and my passes at the periphery stay short. The edge does need some attention — it just can’t be treated the same way as the crown.
When I Do Not Attempt This — and Why
Recognizing when to put the cloth down matters just as much as the technique itself. Three specific situations send me either to accept a watch as it is or to a professional instead.
Deep gouges. If a scratch catches on my fingernail — a sign of actual depth rather than surface disturbance — polishing won’t fix it. I can soften the visual edges of the gouge somewhat, but the mark itself stays put. At that point, a replacement crystal is simply the right call.
Cracked crystals. A crack is a structural problem, not a cosmetic one. Polishing over it accomplishes nothing and risks pushing compound down into the crack, making it harder to clean out later when a new crystal goes in. A cracked crystal gets replaced — no exceptions.
Any hint of water intrusion. Fogging on the crystal’s inner face, condensation, or rust speckling on the dial all mean the watch needs opening by someone qualified. Polishing the outside while moisture sits trapped inside just speeds up damage to the dial and movement. That’s not a job for the kitchen table.
Why I Still Polish Acrylic Watch Crystal Scratches Myself After a Decade
I’ve run this method on something like forty watches by now. Results have ranged from dramatic — a seventies Longines Ultra-Chron brought from total haze back to near-transparency — to more modest outcomes, where I reduced but couldn’t fully erase a scratch pattern on a heavily worn Seiko. That honesty is worth keeping in mind: this isn’t magic, and acrylic isn’t infinitely deep material to grind away at.
But when it does work, the payoff feels genuinely earned. There’s something satisfying about a repair that needs nothing more than a cloth and a tube of toothpaste, done at the same table where I eat breakfast, on a watch that’s been running without interruption since 1974. Within the whole range of watch maintenance a collector might learn, this kind of at-home polishing is about as accessible and rewarding as it gets. The cost is nearly nothing, the equipment is nearly nothing, and the risk — once you understand where the limits sit — stays very low.
That twenty-two dollar Seiko 5 from the estate sale is still sitting in my collection. I’ve polished its crystal twice more since that first afternoon. It still keeps excellent time, the crystal is still clear, and I’ve never put more than thirty-five cents of toothpaste into it. That, as far as I’m concerned, is what actually owning a mechanical watch looks like.
About This Article

Written by Ellen Ashford. Watch collector, fountain pen enthusiast, and lifelong journaler. Time & Ink is where I explore the craft of analog living — from vintage timepieces and fine stationery to the simple pleasure of putting pen to paper. More about this site.
Verify this against a primary source
Specifics change, and your situation may differ from the one described here. These are the authorities worth checking directly:
- NAWCC — horological reference, archives and research library
- Smithsonian Institution — collection records for historic timepieces and writing instruments