A single letter stamped into steel — just “F,” nothing else — is all the identification my old Pilot Metropolitan nib ever gave me, and for a while I figured that letter also stood for “flawed.” Fresh out of the box, that pen caught on every upstroke like a fingernail dragged across window screen. I nearly boxed it up and sent it back. What I hadn’t yet learned is that coaxing a scratchy nib into something smooth is one of the more satisfying skills a pen person can pick up — and it takes far less specialized gear than most newcomers assume.
People tell me constantly that a scratchy nib means a broken nib. It usually doesn’t. Most of the time it just wants a small correction. Between fountain pens and vintage watches, I’ve now put roughly fifteen years of hands-on tinkering behind me, and somewhere north of forty nibs have passed across my kitchen table — a $12 Jinhao 82 among them, and also a vintage Pelikan 400 wearing its original gold nib. None of it is sleight of hand. Given the right tools and a willingness to go slowly, an annoying writer can turn into something genuinely pleasant to use every day.
Before I go further, a confession: I’ve wrecked a nib doing exactly this. I’ll walk through precisely how it happened so you can sidestep the same error. What follows covers the full arc — spotting the actual problem, working through the fix, and flushing everything clean at the end — along with the specific tools that actually sit on my desk.
How a Nib Ends Up Scratchy to Begin With
Knowing where scratchiness actually comes from reshapes the whole approach to fixing it. A fountain pen nib is really two metal tines — usually stainless steel or gold — meeting at the tip in a tiny fused ball called the tipping material, often iridium or rhodium. That ball is the only part of the nib that ever touches paper. Scratchiness is what you feel when that contact point is uneven, off-center, or rough at a scale too small to see with the naked eye.
From what I’ve seen repeatedly, three things cause most of the trouble. One is tine misalignment, where a tine sits a hair higher than its partner and that edge catches on paper fibers. Another is a rough tip — the iridium ball itself has a bur or a flat spot, usually left over from manufacturing. The third is a tine gap that’s pinched too narrow, starving the ink flow so the tines drag against the page. Each problem calls for a different remedy, which is why figuring out which one you’re dealing with has to come before you touch anything.
Pens under $30 land in my hands with tine misalignment more often than anything else. Something like a TWSBI Eco or a Lamy Safari usually turns out to have roughness baked into the tipping itself. Vintage nibs — particularly ones that sat dry in a drawer for years — can show all three problems at once. Sorting your pen into the right category ahead of time saves real hours later and keeps you from correcting a problem that was never actually there.
Figuring Out What’s Wrong Before You Pick Up a Tool
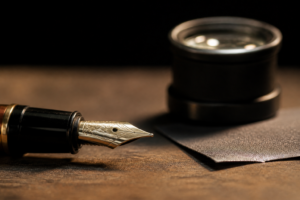
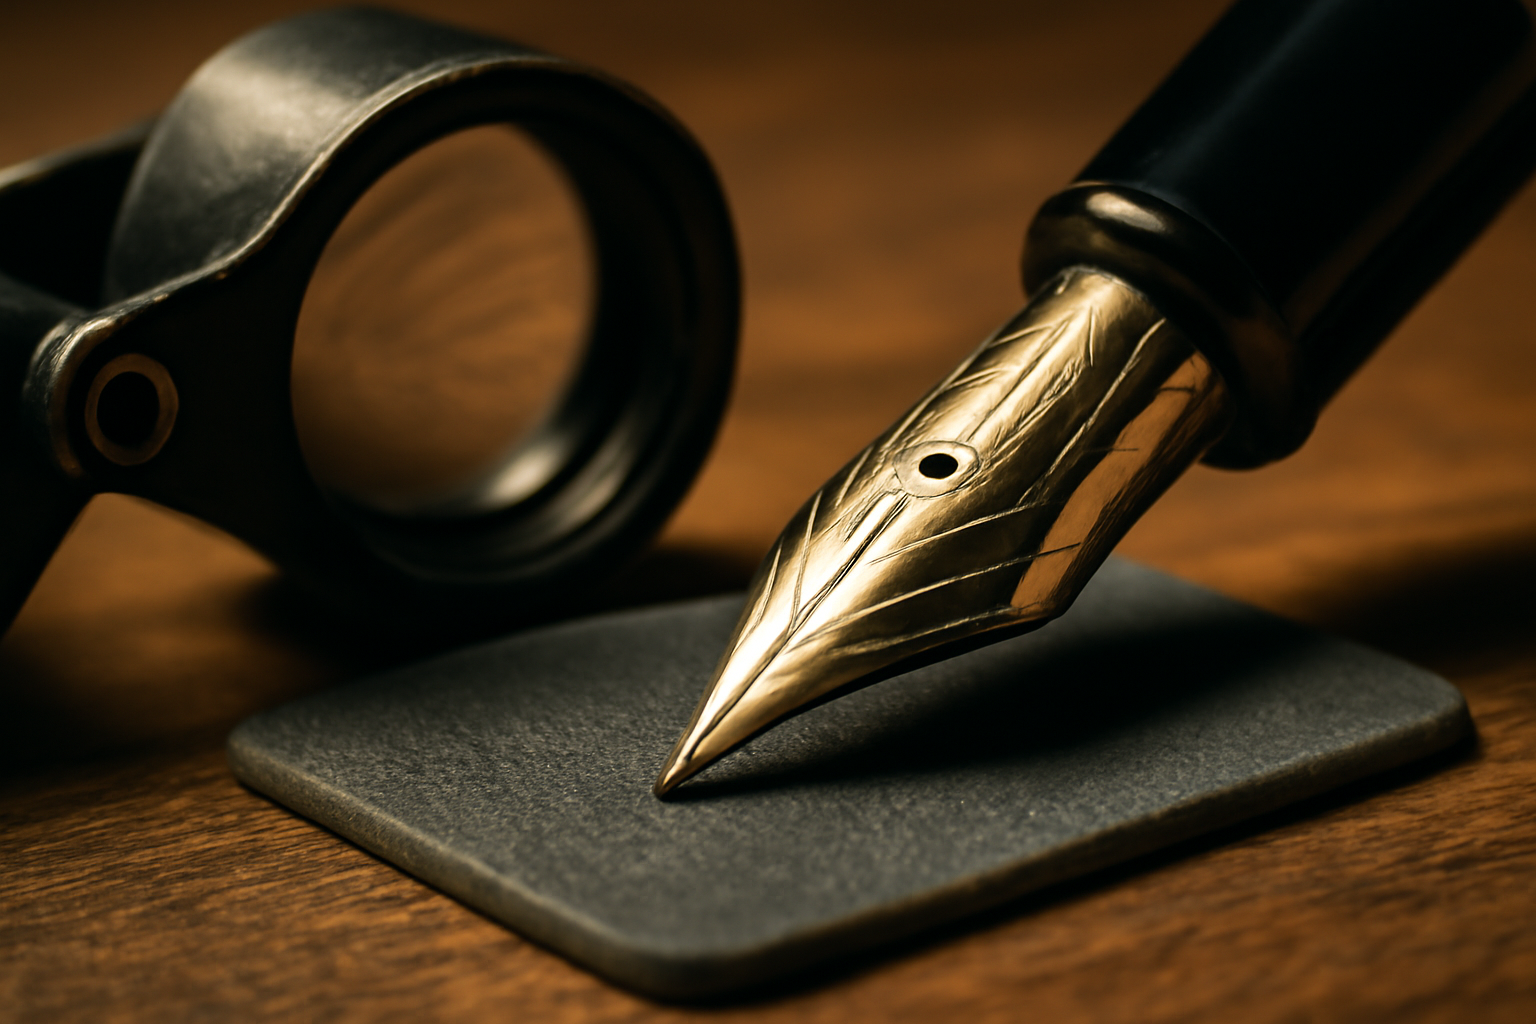
Skipping proper diagnosis is the mistake almost everyone starting out makes. I made it too, and it’s the reason I have a ruined nib to show for it — I went straight to abrading before confirming the tines were even level. Start with a loupe or jeweler’s magnifier somewhere between 10x and 20x. Mine happens to be a 30x loupe originally bought for peering into watch movements, but any solid optical loupe will do the job. Study the tipping material both head-on and from the side.
Looking straight down at the nib, the tipping should read as symmetrical — a small, evenly rounded dome. Viewed from the side, both tines should sit at the exact same height as one another. Any visible height difference is your misalignment, right there. Next, drag your fingernail lightly across the very tip. A tine alignment that’s actually fine will catch just slightly, and only in one direction — that’s the fingernail test. If the tipping is rough rather than misaligned, you’ll feel catching no matter which way you drag.
Rule out ink flow before you decide the geometry itself is the culprit. Fill the pen with an ink that behaves — I reach for Pilot Iroshizuku Ina-ho for this because its medium viscosity is forgiving — and write on paper rated 90gsm or heavier. Tomoe River at 52gsm has a well-earned reputation for making even a properly tuned nib feel scratchy at certain writing angles. Just switching paper stock has “cured” three pens of mine that never actually needed tuning in the first place. Rule out every other variable before you start filing anything down.
A Short Checklist Before Any Tuning Begins
- Inspect the tipping material at a minimum of 10x magnification
- Check tine height from both the front view and the side
- Verify flow using a well-behaved ink on paper of 90gsm or heavier
- Make sure the feed is fully seated and isn’t the thing choking the flow
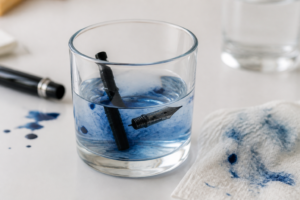
- Give the nib a thorough cleaning before you adjust a single thing
The Actual Work of Tuning and Smoothing a Scratchy Nib
With a diagnosis in hand, you’re working with three main tools: micro-mesh abrasive sheets, a thin brass shim, and a smooth ceramic surface. Each one addresses something different, and I’ll go through them in the order they actually get used at my desk.
Sorting Out Tine Alignment First
Misaligned tines get corrected before anything else touches the nib. Take a thin brass shim — mine are cut from 0.1mm brass sheet, though ready-made pen shims run about $8 to $12 — and ease it gently between the tines. Nudge the lower tine upward just slightly until it matches the height of its neighbor. Go slowly here. A standard steel nib needs almost no force to shift position. Gold nibs, whether 14k or 18k, are even softer and move with the lightest pressure you can manage.
Check under magnification and test on paper after every small nudge — I mean every single one. This is where patience actually matters. The nib I destroyed was on a vintage Sheaffer Snorkel — one overeager push spread the tines past any hope of recovery. A $45 lesson, and not one I’ve forgotten. Small, deliberate movements, every time, no exceptions.
Working the Tip Smooth with Micro-Mesh
Rough tipping material is what micro-mesh sheets are built for. I finish with 12,000 grit almost always, occasionally dropping to 8,000 grit when the roughness is more pronounced. Never start below 6,000 grit on any nib — anything coarser strips away tipping material faster than you want. Cut a piece roughly an inch square and lay it flat, abrasive side up.
The technique is a “figure-eight”: hold the pen at your usual writing angle — generally 45 to 55 degrees — and trace small figure-eights across the micro-mesh surface. Let the pen’s own weight do the work; add nothing extra. Ten to fifteen figure-eights, then a test line on paper. Repeat as needed — it usually takes three to five passes through this cycle. Rushing it is the fastest way to remove more material than you meant to, so check your progress often.
For the last stage, I move to a plain ceramic surface — the unglazed ring on the underside of a coffee mug does the job perfectly and costs nothing extra. The same figure-eight motion, now against ceramic, brings the tipping to something close to a mirror finish. That final step is not a formality. I ran the comparison myself: a nib stopped at 12,000 grit micro-mesh versus one that went on to the ceramic step, and the ceramic-finished nib was noticeably smoother writing on 52gsm paper.
The Bulb Syringe That Lets Me Check My Work Without Refilling the Pen
While you’re learning to smooth a nib, you need a quick way to clear the pen between test strokes — one that doesn’t burn through ink or send you to the sink for five minutes each time. A bulb syringe forces water through the feed almost instantly, letting you confirm whether the tuning actually worked before committing to another fill.
Where it earns its keep
- Builds enough pressure to clear ink and debris from the feed without disassembling anything — smoothing progress can be checked in seconds rather than minutes.
- The soft bulb is gentle enough not to stress delicate feeds or tines the way a rigid syringe plunger could, which matters when you’re working on a pen you’d rather not damage.
- Once one’s in your kit, it gets reached for constantly — flushing between ink changes, prepping a pen for storage, or running water through to check whether a scratch is real or just leftover ink.
Where it falls short
- The bulb tends to lose suction with repeated use, especially if you’re heavy-handed with it — expect to squeeze harder for the same flush after several months of regular use.
- A sink or catch cup is still required nearby, so it’s not something you can rely on for tuning at a desk without making a mess.
I’ll admit I almost gave up on my first tuning attempt because I couldn’t tell if the scratch was gone or just hiding under dried ink—until I had a proper way to flush without dunking the whole pen. That’s when a 2 Pack Ear Syringe 2oz / 60ml Hand Bulb Syringe became indispensable.
About This Article

Written by Ellen Ashford. Watch collector, fountain pen enthusiast, and lifelong journaler. Time & Ink is where I explore the craft of analog living — from vintage timepieces and fine stationery to the simple pleasure of putting pen to paper. More about this site.
Verify this against a primary source
Specifics change, and your situation may differ from the one described here. These are the authorities worth checking directly:
- NAWCC — horological reference, archives and research library
- Smithsonian Institution — collection records for historic timepieces and writing instruments